Join me for a recap of our diy beadboard vintage inspired bathroom remodel of our 80’s Florida home. When we moved into our home about five years ago, it was in need of some tender loving care and a refresh from 1984. We started by neutralizing the ugly. This included removing the carpet from the bathroom, putting fresh paint on the walls, and getting rid of the cockroach infested kitchen and bathroom cabinets.

Once the house was made clean and fresh to live in, we knew we could take our time and remodel and decorate each room when time and budget allowed.
First we demo!
Recently, we remodeled the boys’ bathroom. We started by removing the drop ceiling above the sink and shower and replaced it with drywall to make the ceiling flush. Then, we removed the outdated shower tile and almond colored tub.

After putting in the new cement board and a waterproof coating. The fun stuff began. Picking out the fixtures and deciding on the design.

Let the decorating begin!
I chose a beveled edge 3 x 6 white subway tile for the shower walls. We found our tiles at a local flooring store, but you can also find them here. Inspired by vintage beveled subway tiles I saw in a beautiful French chateau. We put in a porcelain white tub and used a light gray grout.

The shower fixture is a chrome vintage inspired exposed pipe tub and shower system with porcelain accents on the handles. Here is a similar one to the fixture we used.

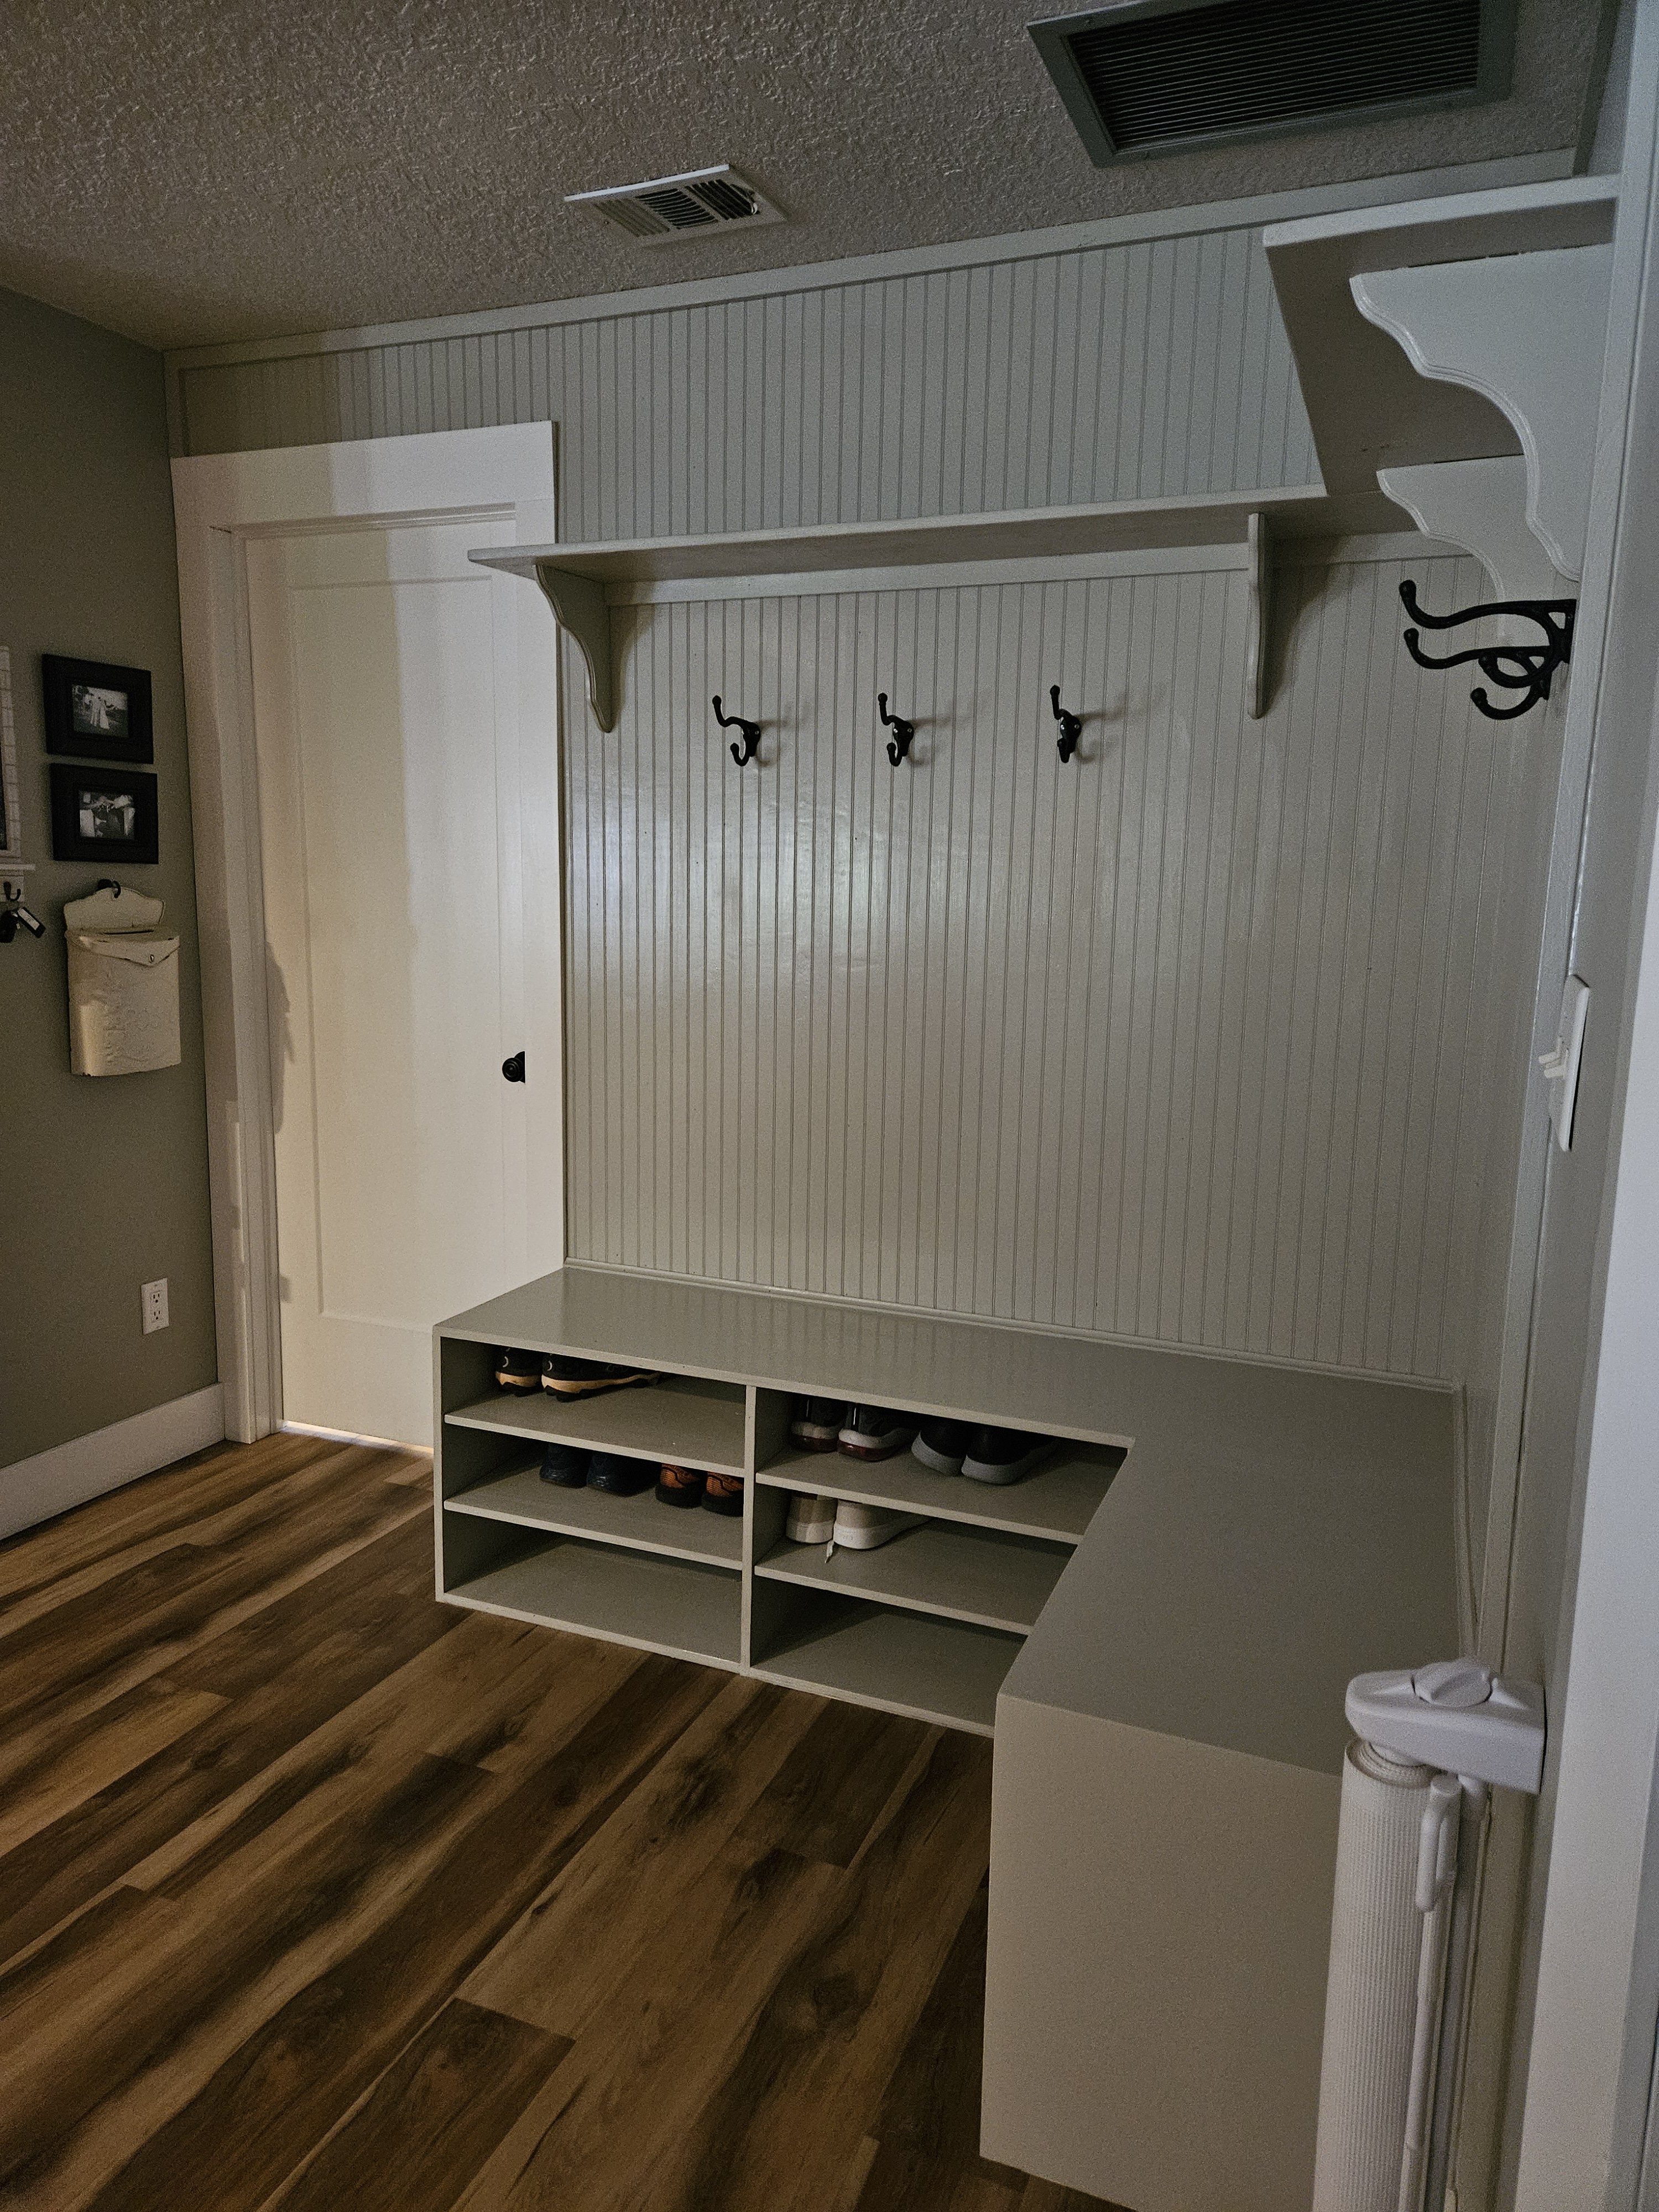
The walls and ceiling were a mess. They had been patched and repaired so many times we decided to cover them up with beadboard paneling.

We took a trip to the local hardware store to look at our beadboard options. While the clerk at the store thought we were crazy for wanting to put wood in our bathroom, I knew it would be the most beautiful of the products compared to a plastic pvc beadboard option.
Ultimately, we went with a sanded finished wooden beadboard. They had a less expensive rough cut unsanded version that was about one-third of the price, but I knew trying to sand all the beadboard would make for triple the time spent on this remodel.

Installing the Beadboard Paneling
We started by installing the ceiling boards. First, by gluing them and then using a nail gun to fix them securely to the ceiling. We didn’t use glue on the wall beadboard and just used the nail gun. We put a molding around the top of the walls. Then, finished off the beadboard by caulking the seams between each sheet. After calking, we painted, applying an eggshell finish in a light shade of Tanglewood by Behr.
I painted the ceiling, doors, and moldings the same color for a unified clean finish. We installed a semi flush mount glass light fixture with black metal on the ceiling and a round glass and black metal wall sconce for an accent light.
To hang the shower towels, we added wooden pegs to a horizontal molding on the beadboard two thirds up the wall and painted them the same color as the moldings and walls.
I have been so thrilled with the finishing touches on this bathroom. It’s bright and clean with warm vintage touches that make it one of my favorite spaces in the house.
Thank you for joining me on our bathroom remodel. Please follow along @homesteadonlakeside for more homemade and diy inspiration!


Leave a Reply