How to make a sourdough starter

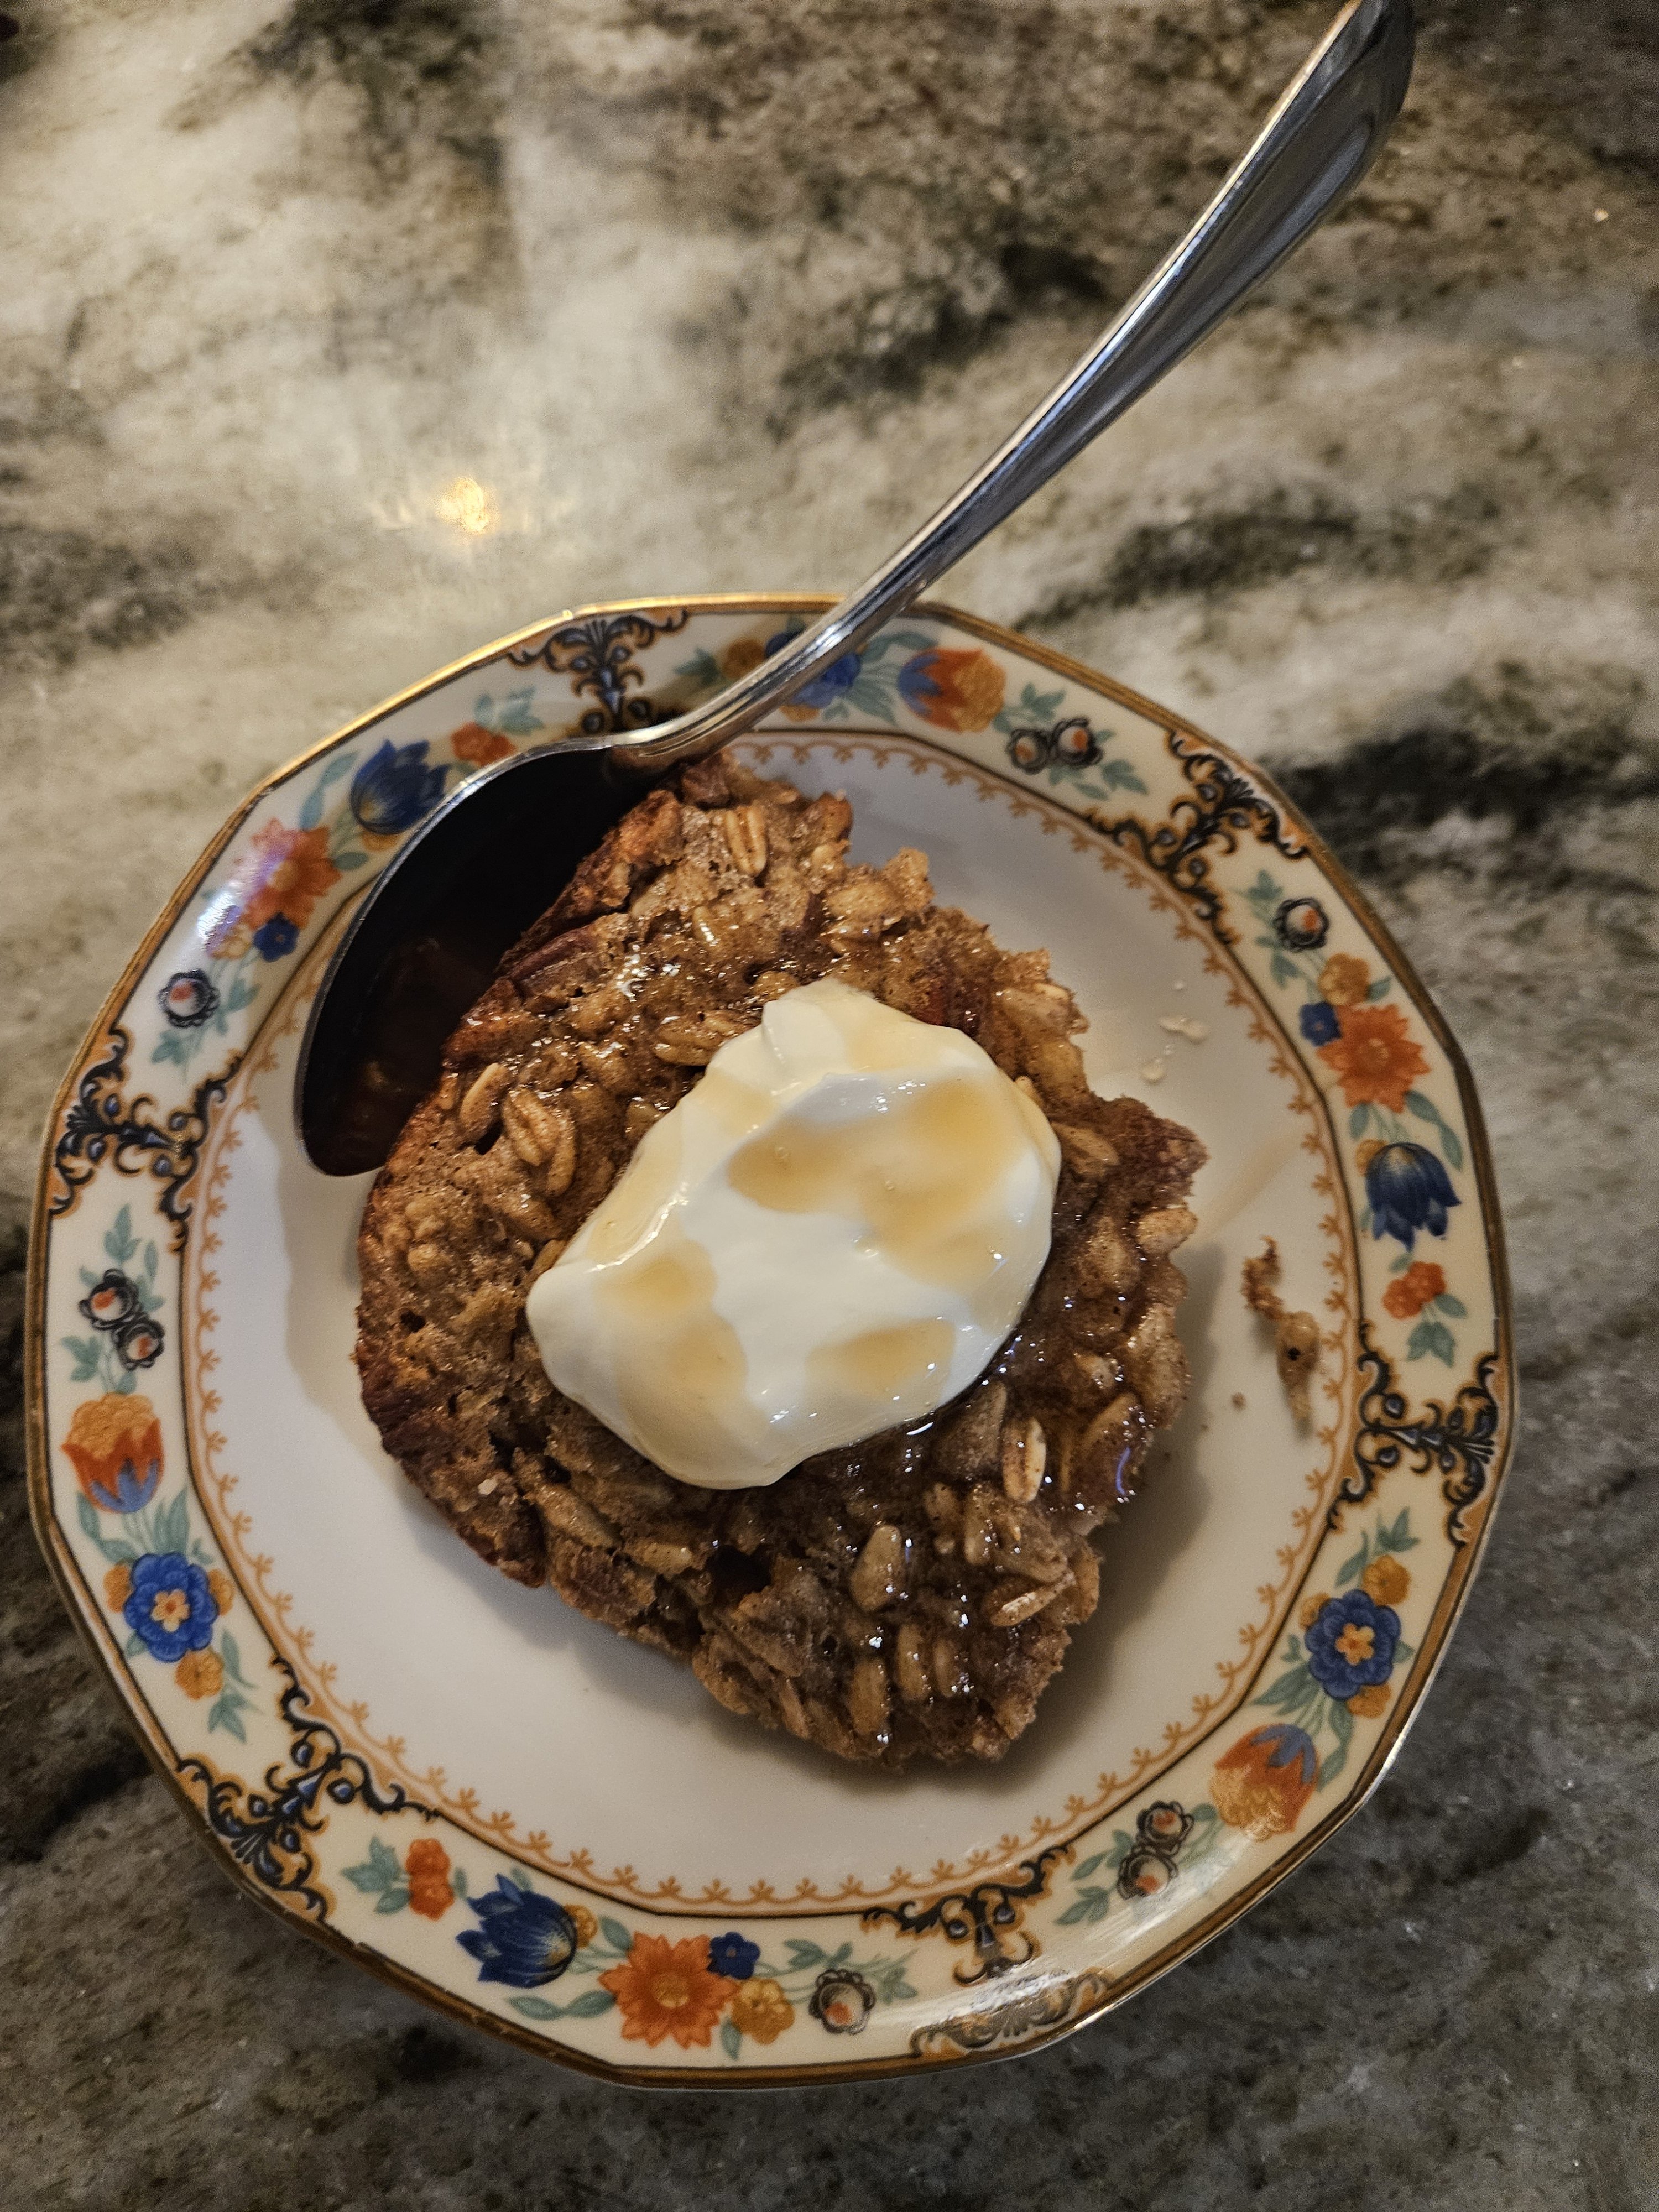
Water, flour, and a little love. These are the ingredients to so many delicious meals. When I set out to make my sourdough starter over a year ago, I thought I was only going to be making bread. I had no idea I would be using my starter to make such a variety of sweet and savory meals.

I have and maintain a hydration starter. A hydration starter is equal parts water and flour. When you’re ready to start your sourdough starter you need, a good amount of flour, filtered water, a large glass bowl or jar, and a cloth or beeswax wrap to cover the bowl.

DAY ONE:

Mix equal parts flour and water. 1 cup of unbleached all-purpose flour with 1 cup of filtered water. Mix well and cover with tea towel. Let sit over night on the counter.

DAY TWO TO FIVE:

Remove half of your original mixture from the bowl, discard, then add 1 cup of flour and 1 cup of water. Mix well and cover with tea towel. Let sit over night on the counter.

DAY SIX:

Today you will feed your starter twice, once in the morning and once in the afternoon. Each time you feed your starter use 1 cup of water and 1 cup of flour and remove and discard half of the starter before feeding. Leave covered bowl on the counter to ferment.

NOTE: The warmer your home is the faster your starter will ferment. We live in Florida and after 3 to 4 hours on a summer day the freshly fed starter will be fully fermented and ready to use. In the winter, it takes 5 to 6 hours for my freshly fed starter to be fully fermented.

DAY SEVEN:

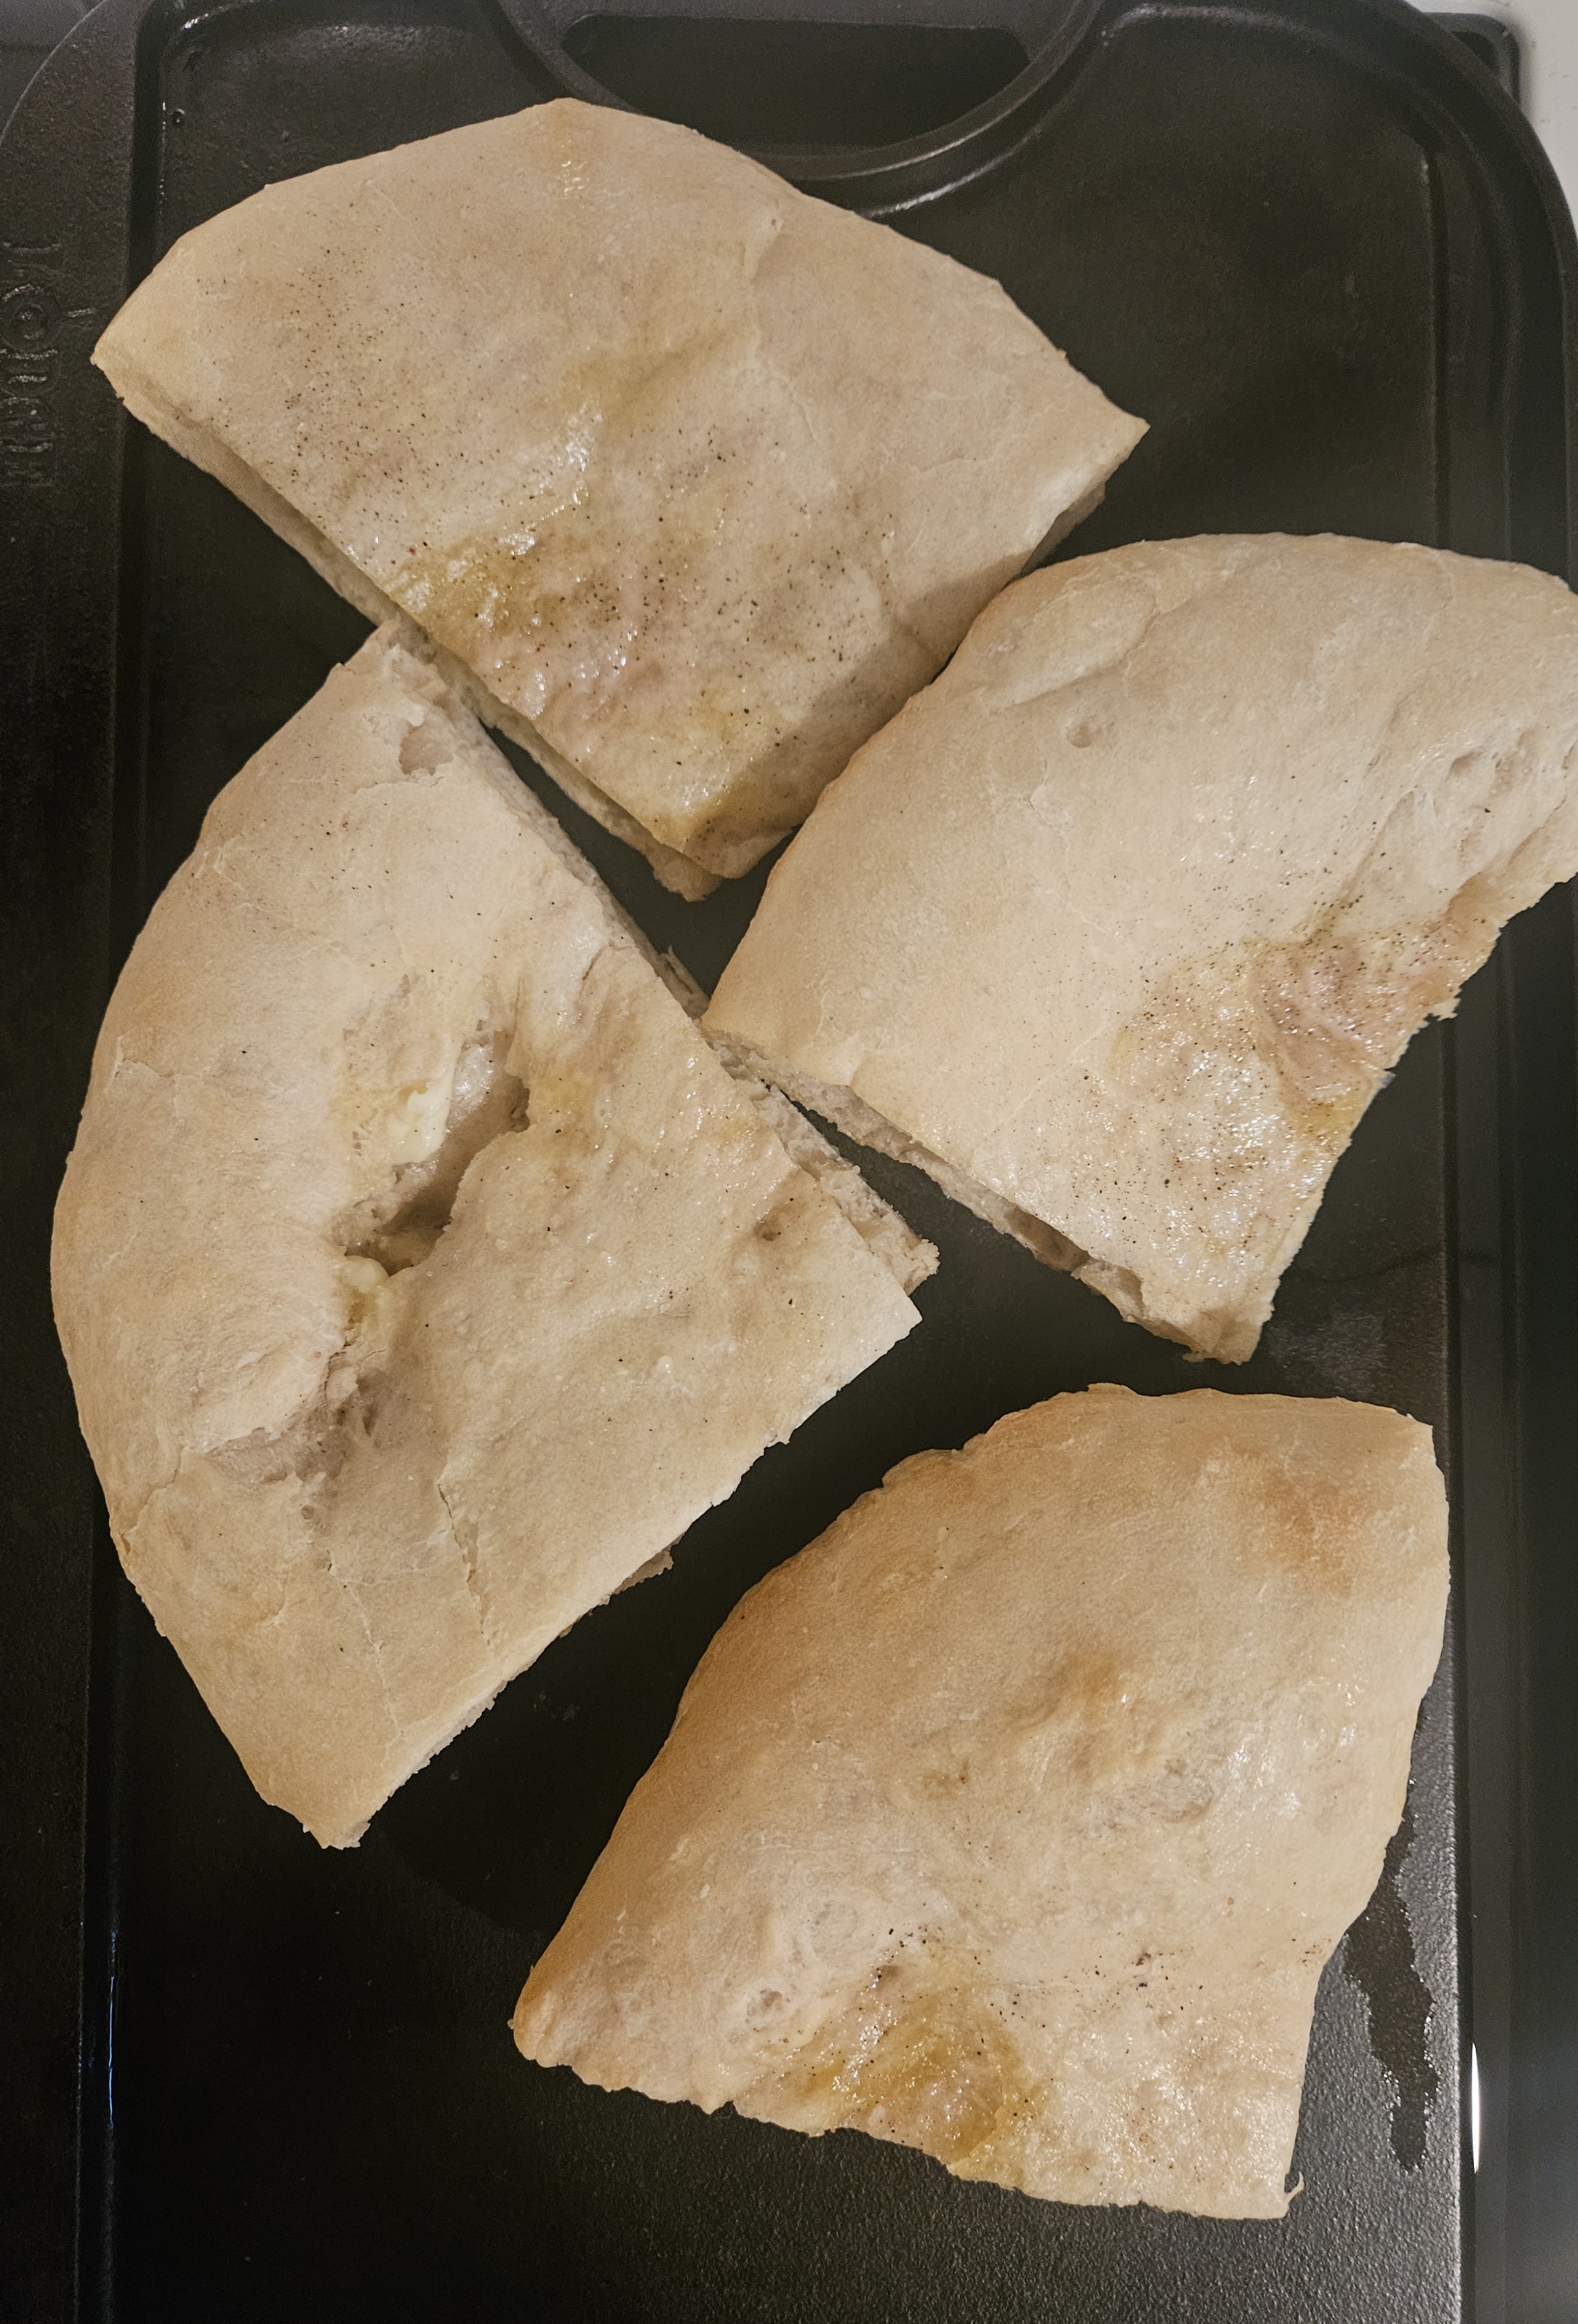
Your starter should be looking nice and bubbly. Discard half of your starter before feeding. Feed your starter 1 cup of flour and 1 cup of water twice today. Once in the morning and once in the afternoon. Mix well, cover, and allow to ferment on the counter. After today your starter should be ready to use for basic recipes like pancakes, pizzas, and skillets.

I would wait until day 10 before using your starter to make bread. You need a good strong, well fed starter to make bread rise. Continue feeding your starter everyday.

You can now store your starter, covered, in the fridge overnight. Take out of the fridge in the morning, allow to get to room temp, feed equal parts water and flour, mix, and have sit on the counter for a few hours until peak fermentation is reached. Then place back in the fridge when done using it.

Peak fermentation is when you have big active bubbles in the starter. The starter will feel stretchy when you mix it. If you have tiny, foam like bubbles forming on the top and it feels watery when you mix it, your starter is hungry, over fermented, and needs to be fed with water and flour. If your starter is hungry or not fermented enough, your bread will not rise well.

Best wishes on your sourdough journey! Message me with any questions or follow along @homesteadonlakeside

17 responses to “How to make a sourdough starter”

  1. Gail’s Snapshotsincursive Avatar

    I always wondered how to do that. Thank you! 🍃🌸🍞

  2. Rachel Avatar

    I love your blog. Thank you for always inspiring with your great recipes!

  3. […] in our house. Here is my tried and true favorite recipe for sourdough bread. Check out my post on how to make a sourdough starter if you need a […]

  4. […] Then heat a cast iron skillet or heavy bottom pan at 400° for about 15 minutes. Spoon a thin layer of sourdough starter onto the skillet, spread out in the shape of your crust, and season with salt and pepper. Bake the crust for 15 to 20 minutes, or until starting to brown. I learned this great crust technique from Lisa at Farmhouse on Boone. See my post on how to make a sourdough starter. […]

  5. […] you need instructions on how to make a sourdough starter check out my […]

  6. […] Check out my post on how to make a sourdough starter […]

  7. […] 2 cups of fed room temperature sourdough starter. (If you need a starter, check out my post on How to Make a Sourdough Starter) […]

  8. […] starter (I store mine in the refrigerator until I’m ready to use) – See my post here for step by step instructions on how to make your own sourdough […]

  9. […] hours. If you’re new to sourdough and are interested in creating your own sourdough starter, here is my step by step guide to creating your own starter. I’ve had my sourdough starter for 5 […]

  10. […] warm spot like the back of the stove. If you don’t have a sourdough starter you can make one! Here is my post about how to make a sourdough […]

  11. […] make these pancakes. If you’re interested in trying your hand at sourdough, check out my post here with step by step instructions on how to make your own sourdough […]

  12. […] you’re looking to start making delicious sourdough recipes, see my post here about how to start a sourdough […]

  13. […] you are interested in making a sourdough starter, check out my post for how to create a starter . As well as how to care for your […]

  14. […] If you’re new to sourdough,  you can get started on the delicious food journey by making your own starter or getting some from a friend or neighbor. It’s not hard to make your own starter. It takes about seven days and is kind of like tending to a house plant or small pet. Check out my post here on how to create your own sourdough starter. […]

  15. […] 1 cup of well-fed sourdough starter (I store mine in the refrigerator until I’m ready to use) – See my post here for step by step instructions on how to make your own sourdough starter. […]

  16. […] Making sourdough has also been part of my homemade cooking journey. Check out my post here on how to create your own sourdough starter and start your homemade food jour… […]

  17. […] cup of sourdough starter (the sourdough starter for this recipe can be cold and can be sourdough discard. This means the […]

Leave a Reply

I’m Rachel

Welcome to Homestead on Lakeside! I love sharing how our family lives a homemade and budget friendly lifestyle through recipes from scratchsourdough, and homeschool ideas.

Let’s connect

Discover more from Homestead on Lakeside

Subscribe now to keep reading and get access to the full archive.

Continue reading